Session 3: From Tinkercad to the Printer
Preparing your file for printing
- Connect your shapes
- Angles and supports
Connect your shapes
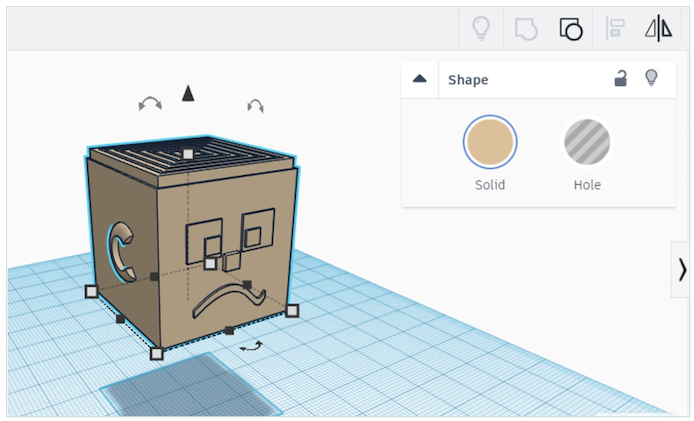
No floating heads! All your individual shapes must connect or even overlap, so that they are joined together in your print.
If you remember the “additive manufacturing”, the printer is going to go layer by layer. If there is an empty layer between your nose and your face, the nose is going to fall off.
Check carefully from all angles and zoom in to make sure there are no gaps each of your shapes – even check your eyeballs!
Angles and supports
If your layers are flat and vertical, the printer can handle it easily, but angles can be tricky. Something like a 90 degrees right angle up off the surface of the printer bed will dribble because the printer doesn’t have anything solid to layer on top of.
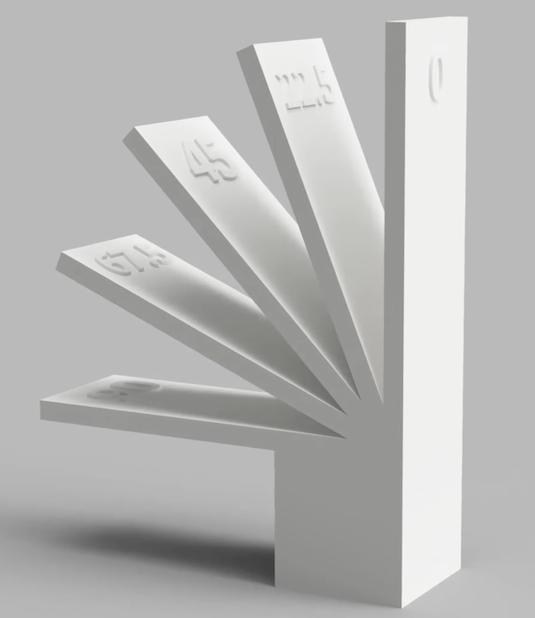
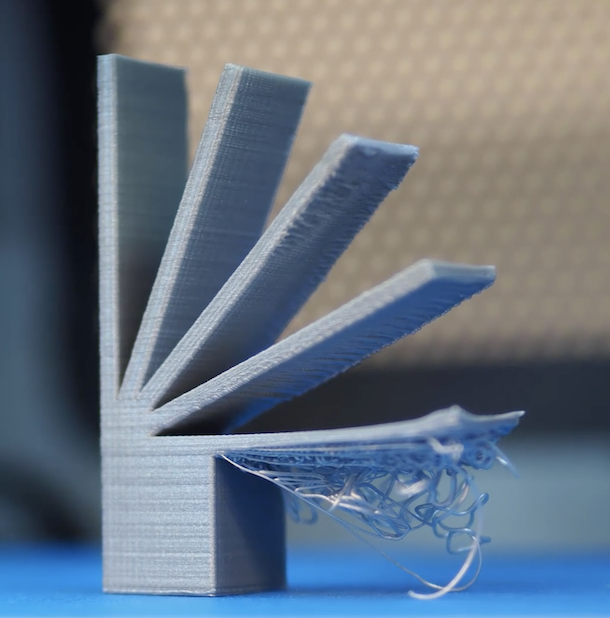
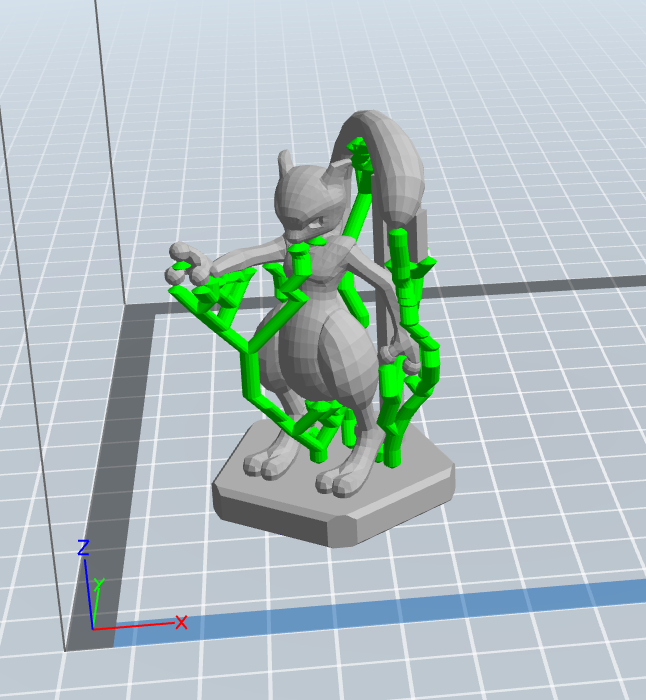
If you need shapes at angles, 3D printer software can automatically add supports for shapes at an angle. It’s calculating angles and then creating a tree-like support system that will get broken off after the print is complete.
The Finish Line
You’ll have most of the time to finish your character faces, and at the end, Adam and I will come around to make sure all of your pieces are attached, ready for printing.
Have fun!
Where can you go next?
![]()